 Save
Save I discovered cauliflower pizza crust by accident on a Wednesday night when my sister challenged me to make pizza without flour. My first attempt was soggy and deflated, but something clicked when I realized the real secret was squeezing out every drop of moisture—as if the crust wanted to be crispy and I just had to listen to it. Now, years later, this is the crust that got my entire friend group excited about low-carb eating, not because of the diet part, but because it actually tastes good.
I remember bringing this to a dinner party where someone had mentioned offhand that they were trying keto, and I could see the relief on their face when I said dessert was pizza. By the end of the meal, three people asked for the recipe, which felt like the highest compliment a low-carb dish could receive from a room full of carb lovers.
Ingredients
- Cauliflower: Use fresh florets from one medium head—frozen works but releases extra water that fights against crispness.
- Large egg: This binds everything while keeping the crust tender instead of crumbly, so don't skip it even for a vegan version.
- Mozzarella cheese: Sixty grams of freshly grated is non-negotiable—pre-shredded cheese has anti-caking agents that prevent proper melting.
- Parmesan cheese: Those nutty, salty crystals give the crust flavor depth that makes people stop mid-bite and ask what you did differently.
- Dried oregano, garlic powder, salt, and pepper: These humble seasonings transform cauliflower from vegetable to foundation, building flavor before the oven even comes into play.
Tired of Takeout? 🥡
Get 10 meals you can make faster than delivery arrives. Seriously.
One email. No spam. Unsubscribe anytime.
Instructions
- Preheat and prep your workspace:
- Set the oven to 220°C and line your baking sheet with parchment paper so nothing sticks and cleanup is minimal.
- Turn cauliflower into rice:
- Pulse your florets in a food processor until they resemble fine rice—too chunky and you'll feel it in the crust, too fine and it becomes paste.
- Steam and cool the cauliflower:
- Microwave your cauliflower rice for 4 to 5 minutes until softened, then let it cool enough to touch without burning your fingers.
- The squeeze is everything:
- Wrap the cooled cauliflower in a clean kitchen towel and squeeze hard—this is where crispness is born, and it's the step that separates perfect crust from disappointment.
- Mix your dough:
- Combine the drained cauliflower with egg, cheeses, and seasonings until it becomes a sticky dough that holds together when pressed.
- Shape with intention:
- Spread the mixture on your prepared sheet and flatten it to about 0.5 cm thick—use your hands or the back of a spoon to create even thickness so it bakes uniformly.
- Bake the naked crust:
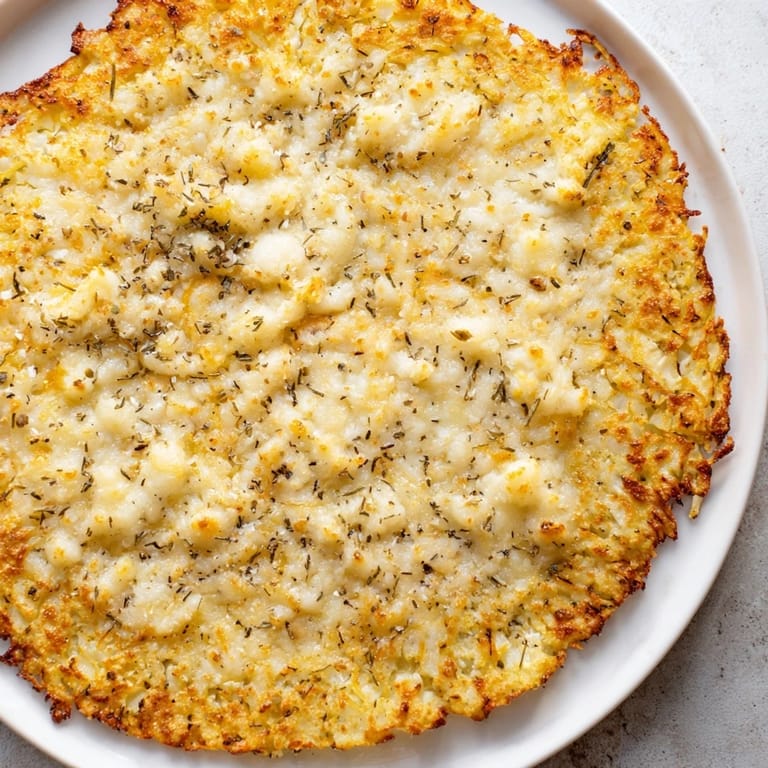
- Let it bake for 20 to 25 minutes until it turns golden and feels firm when you tap it—this initial bake is crucial because it sets the structure.
- Top and finish:
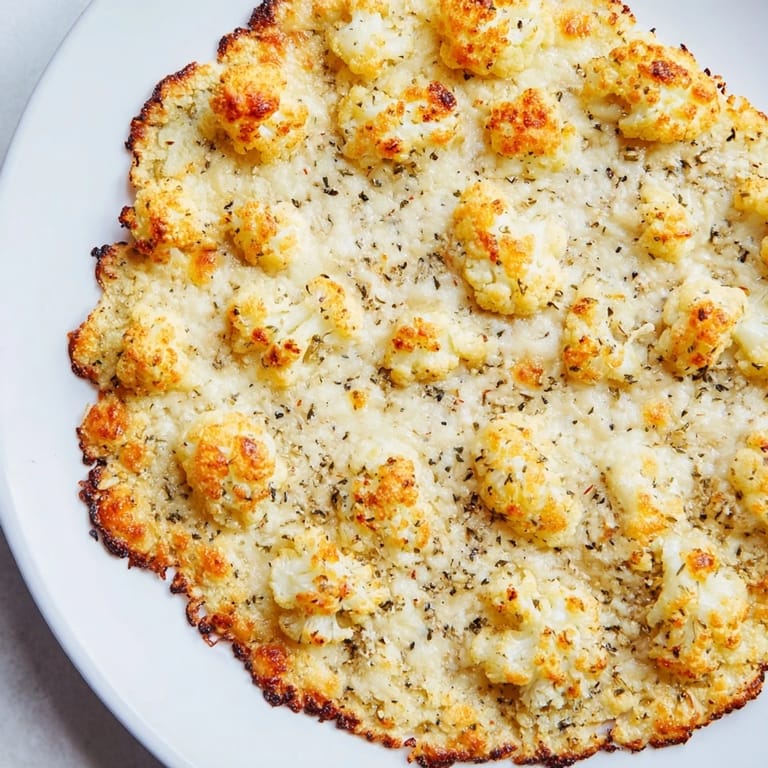
- Add sauce, cheese, and toppings, then bake for another 5 to 8 minutes until the cheese bubbles and browns slightly at the edges.
- Cool slightly before slicing:
- Give it a minute or two out of the oven so the cheese sets and the crust holds together when you cut into it.
 Save
Save The moment this crust changed everything was when my mom, who had never understood low-carb eating, asked for seconds and said it tasted like real pizza. That simple comment made me realize it wasn't about substitution or compromise anymore—it was just good food that happened to be keto-friendly.
Why This Beats Store-Bought Cauliflower Crusts
I've tried the frozen versions, and they're convenient but somehow always taste like they're apologizing for not being wheat flour. Homemade gives you control over crispness, cheese amount, and seasoning—plus you'll understand exactly why it works instead of guessing at mysterious ingredients. The fact that it takes under an hour means you can make it fresh whenever pizza cravings hit.
Customizing Your Toppings
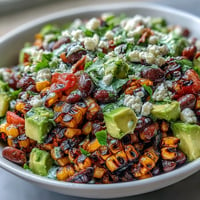
This crust is sturdy enough for anything you'd put on regular pizza, but I've noticed it shines with lighter toppings that don't weigh it down. Prosciutto and arugula, fresh mozzarella with basil, or even just sauce and ricotta bring out the subtle cauliflower flavor instead of burying it. The key is restraint—this isn't the crust to pile high with five meats and three cheeses, though I've definitely tried.
Storage and Reheating
Leftover pizza reheats beautifully in a 180°C oven for about 5 minutes, which is how I realized this crust actually gets better as the flavors settle and the texture firms up. You can also store the unbaked dough in the fridge for a day, which means half the work is already done when you get home tired and hungry. Freeze the pre-baked crust for up to a month, then top and bake whenever you need dinner solved.
- Let any leftover pizza come to room temperature before wrapping for storage so condensation doesn't make it soggy.
- If reheating from frozen, add about 2 extra minutes to your usual oven time.
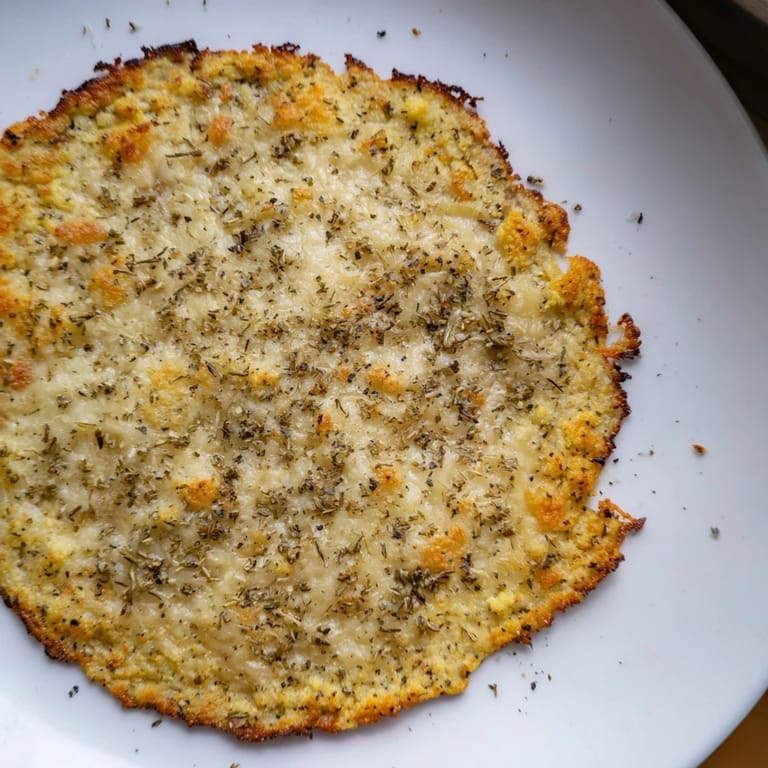
- This crust is delicious even eaten plain with just a drizzle of olive oil and fresh herbs if you're meal prepping.
 Save
Save This crust proves that eating well and eating deliciously aren't competing goals—they're the same thing when you get the technique right. Make it once and you'll make it again.
Recipe Questions & Answers
- → How do I ensure a crisp crust?
Remove as much moisture as possible from the cooked cauliflower by squeezing it in a kitchen towel before mixing the dough.
- → Can I make this crust vegan?
Yes, substitute egg and cheeses with suitable vegan alternatives to maintain texture and flavor.
- → What cheese types are recommended?
Use grated mozzarella and Parmesan for the best melt and savory depth.
- → Is this suitable for low-carb diets?
Absolutely, the cauliflower base provides a low-carbohydrate alternative to traditional crusts.
- → What cooking tools are needed?
A food processor for ricing cauliflower, a microwave to soften it, and basic baking tools like parchment paper and a baking sheet.
- → How long does it take to prepare?
About 45 minutes total, including preparation and baking time.