 Save
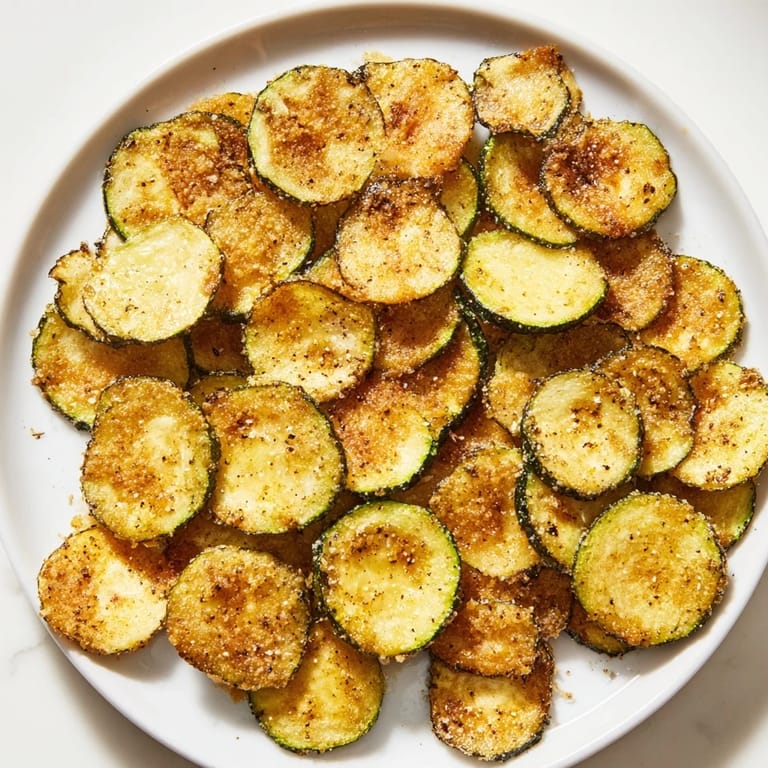
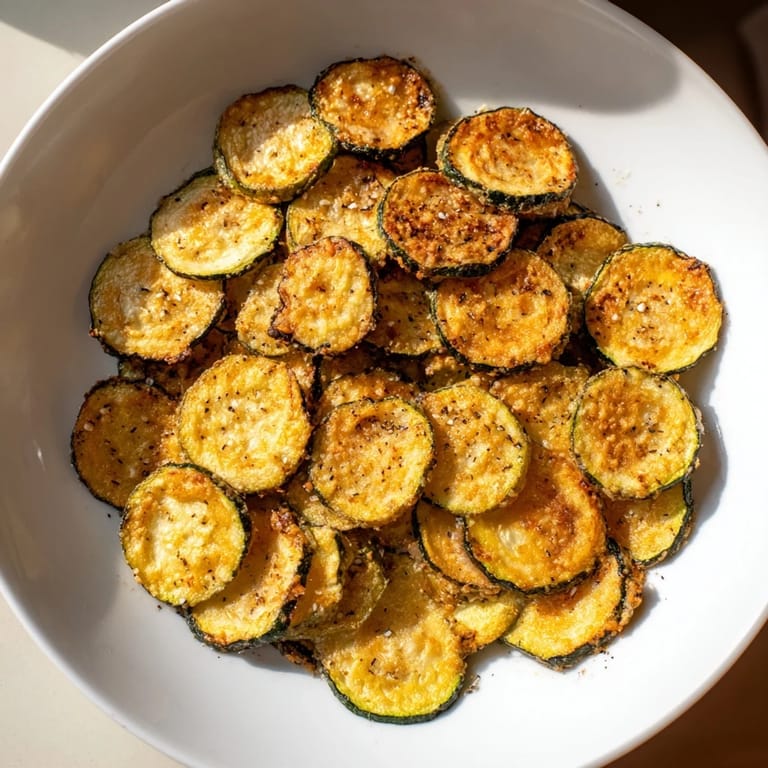
Save One afternoon, I was standing in front of an overflowing produce bin, staring down three beautiful zucchinis and wondering what to do with them. My partner had just suggested we cut back on regular potato chips, and I found myself thinking: what if I could make something crunchy and satisfying without guilt? I sliced them paper-thin, tossed them with salt and oil, and slid them into a low oven. Two hours later, I pulled out something golden and impossibly crispy—and I haven't bought a bag of chips since.
I made a batch for a movie night with friends who were skeptical about "healthy snacks," and I watched them disappear faster than the actual movie. Someone asked if they were store-bought. That moment—when people realized something that good came from my oven—made me feel like I'd cracked some kind of code.
Ingredients
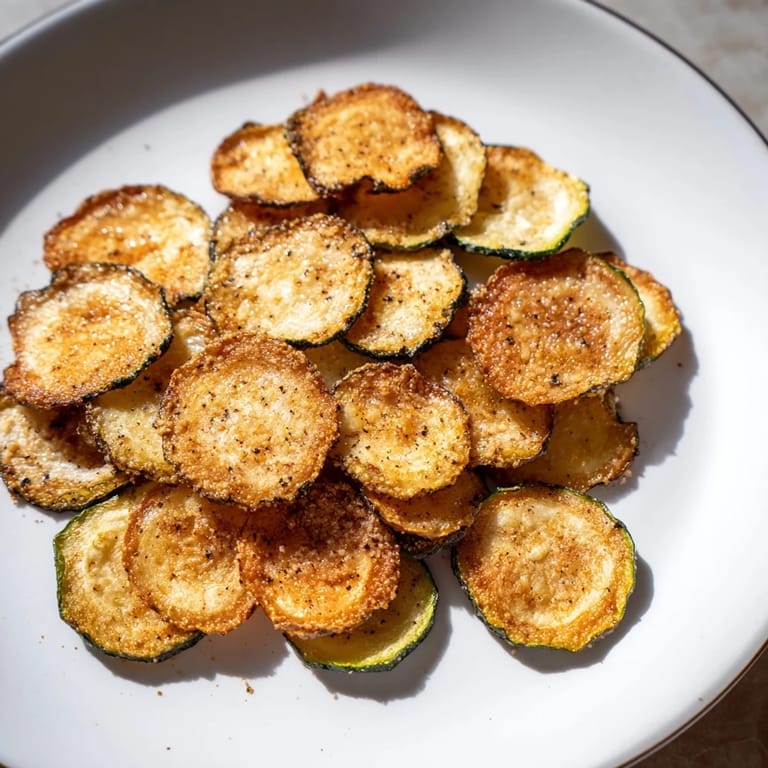
- Zucchinis (2 medium): The thinner you slice them, the crispier they become—a mandoline is worth the investment, but a sharp knife works just fine if you're patient.
- Olive oil (1 tablespoon): This light coat is all you need to encourage browning and crispness without making them greasy.
- Sea salt (1/2 teaspoon): It brings out the subtle sweetness in the zucchini and anchors the other seasonings.
- Freshly ground black pepper (1/4 teaspoon): Grinding it yourself makes a real difference in flavor depth.
- Garlic powder (1/2 teaspoon, optional): Adds a savory backbone that makes people wonder what the secret ingredient is.
- Smoked paprika (1/2 teaspoon, optional): Just a whisper of this gives the chips a sophisticated, almost smoky depth.
Tired of Takeout? 🥡
Get 10 meals you can make faster than delivery arrives. Seriously.
One email. No spam. Unsubscribe anytime.
Instructions
- Prepare your oven and workspace:
- Preheat to 225°F and line two baking sheets with parchment paper—this low temperature is key to crispiness without burning. The parchment prevents sticking and cleanup.
- Wash, dry, and slice:
- Moisture is the enemy of crispiness, so dry your zucchinis thoroughly and slice them consistently thin, about 1/8 inch. A mandoline takes the guesswork out, but take your time with a knife and you'll get beautiful results.
- Remove excess water:
- Pat each slice dry with paper towels—this step feels tedious but makes an enormous difference in your final crunch. Don't skip it.
- Season generously:
- Toss everything together in a bowl so every slice gets coated evenly. This is where your optional seasonings shine if you're using them.
- Arrange without overlap:
- Spread them in a single layer on your baking sheets, leaving space between each chip so they bake rather than steam. If they touch, they'll stay soft.
- Bake low and slow:
- Bake for one hour, then rotate the pans and flip each chip. The chips will look almost cooked after the first hour but will crisp further as they cool—trust the process and bake the full 30 to 40 minutes.
- Cool completely:
- Leave them on the baking sheets as they cool—they'll continue to crisp up and become brittle. This is when the magic finishes happening.
 Save
Save My favorite moment came when I was meal prepping for the week and packed these alongside some homemade hummus. I found myself reaching for them all through the day—not because they were "healthy," but because they were genuinely delicious. That's when I knew this recipe had become something I'd make forever.
Storage and Keeping Them Crispy
These are honestly best eaten the day you make them when the crunch is at its peak. If you must store them, an airtight container will keep them for up to two days, though they'll gradually soften as they absorb ambient moisture. A glass container with a tight lid works better than plastic for maintaining crispness.
Flavor Variations That Work
Once I mastered the basic technique, I started experimenting with different seasonings. Chili powder gives them a subtle heat, Italian herbs make them feel Mediterranean, and nutritional yeast adds a savory, almost cheesy quality without any dairy. I've even sprinkled grated Parmesan on them before baking—just a light dusting—which creates little crispy, savory pockets.
Why This Became My Go-To Snack
There's something deeply satisfying about transforming a simple vegetable into something that tastes indulgent. These chips proved to me that eating well doesn't mean sacrifice—it just means paying attention to technique and giving simple ingredients the time they need.
- Make a double batch; they disappear quickly and the oven is already hot anyway.
- Check them at the 45-minute mark if your oven runs hot so you can adjust timing.
- These make an impressive homemade gift if you pack them in a pretty jar with a handwritten label.
 Save
Save These crispy zucchini chips remind me that sometimes the best snacks come from paying attention to simple technique and giving your oven time to do its work. Once you master them, you'll find yourself making them again and again.
Recipe Questions & Answers
- → How do I achieve crispy zucchini slices?
Ensure the zucchini slices are very thin and dry before baking. Use low oven temperature and bake slowly, flipping halfway for even crispness.
- → Can I add different seasonings?
Absolutely! Try chili powder, Italian herbs, nutritional yeast, or grated Parmesan cheese to customize flavor.
- → What is the best tool to slice zucchini thinly?
A mandoline slicer or a sharp knife works best to get uniform thin slices around 1/8 inch thick.
- → How long do the crispy zucchini chips stay fresh?
Store them in an airtight container for up to two days, but they are best enjoyed the same day for maximum crunch.
- → Are these zucchini crisps suitable for gluten-free diets?
Yes, these baked zucchini crisps contain no gluten and use simple, natural seasonings safe for gluten-free preferences.