 Save
Save The first time I made pelmeni, I was standing in my kitchen on a cold Sunday afternoon, flour dusting everything, my hands aching pleasantly from kneading dough. My grandmother had sent me her handwritten recipe scribbled on the back of an old envelope, and I was determined to get those tiny dumplings right. What struck me most wasn't the complexity—it was how meditative the whole process felt, how my mind quieted down while my hands worked through folding each little pocket of dough. By the time I pulled that first batch from the boiling water, watching them bob to the surface, I understood why this dish has fed Russian families for generations.
I remember making pelmeni for my friend Viktor on his birthday last winter—he'd been homesick, and when I told him I was attempting his family's recipe, his whole face changed. We folded dumplings together at my kitchen table, him showing me how to pinch the corners just right, how his mother used to make them with her eyes closed because she'd done it so many times. When we sat down to eat, he got quiet for a moment, fork suspended, and then he smiled and said it tasted like home. That's when I realized pelmeni isn't just food; it's a way of saying you remember someone's stories.
Ingredients
- All-purpose flour (2 cups): The foundation of silky dough—this is where patience pays off, as kneading develops the gluten that gives pelmeni their tender but slightly chewy texture.
- Cold water (1/2 cup) and 1 egg: Together they hydrate the dough just enough to make it supple and workable without becoming sticky or tough.
- Salt (1/2 tsp for dough, 1/2 tsp for filling): Don't skip either pinch; salt strengthens the dough and seasons the meat properly from within.
- Ground pork and beef (7 oz each): The combination of these two meats creates a more complex, balanced flavor than using just one—this is the secret many home cooks miss.
- Onion (1 small, finely grated) and garlic (2 cloves, minced): Grating the onion rather than chopping it releases its juices, binding the filling together beautifully and distributing flavor evenly.
- Black pepper (1/2 tsp): A whisper of pepper is all you need; too much overwhelms the delicate taste of the meat.
- Cold water (2 tbsp for filling): This small amount of liquid keeps the filling moist during cooking so it doesn't dry out inside the dough pocket.
- Sour cream (1 cup): The cooling, tangy finish that makes pelmeni sing—it's not a garnish, it's essential.
- Fresh dill (1 tbsp, optional but recommended): If you use it, the herbaceous brightness lifts the whole dish into something more refined.
Tired of Takeout? 🥡
Get 10 meals you can make faster than delivery arrives. Seriously.
One email. No spam. Unsubscribe anytime.
Instructions
- Build your dough base:
- In a large bowl, whisk together your flour and salt, then create a small well in the center and crack in your egg. Gradually add the cold water while mixing, bringing everything together until a shaggy dough forms. Knead for 8–10 minutes—your arms will feel it, but this is when the dough transforms from rough to silky smooth and elastic. Cover it with plastic wrap and let it rest for 20 minutes; this pause allows the gluten to relax, making the dough easier to roll thin without tearing.
- Mix the filling:
- Combine the ground pork, beef, grated onion, garlic, salt, pepper, and cold water in a medium bowl, stirring until everything is well integrated and the mixture looks slightly sticky. The stickiness is intentional—it means the filling will stay moist and hold together as the pelmeni cook.
- Roll and cut:
- Dust your work surface lightly with flour and roll out the dough to about 2 mm thick—thin enough that you can almost see light through it, but not so thin that it tears. Using a 2.5-inch round cutter, cut out circles and keep them covered with a slightly damp cloth as you work, so they don't dry out.
- Form the dumplings:
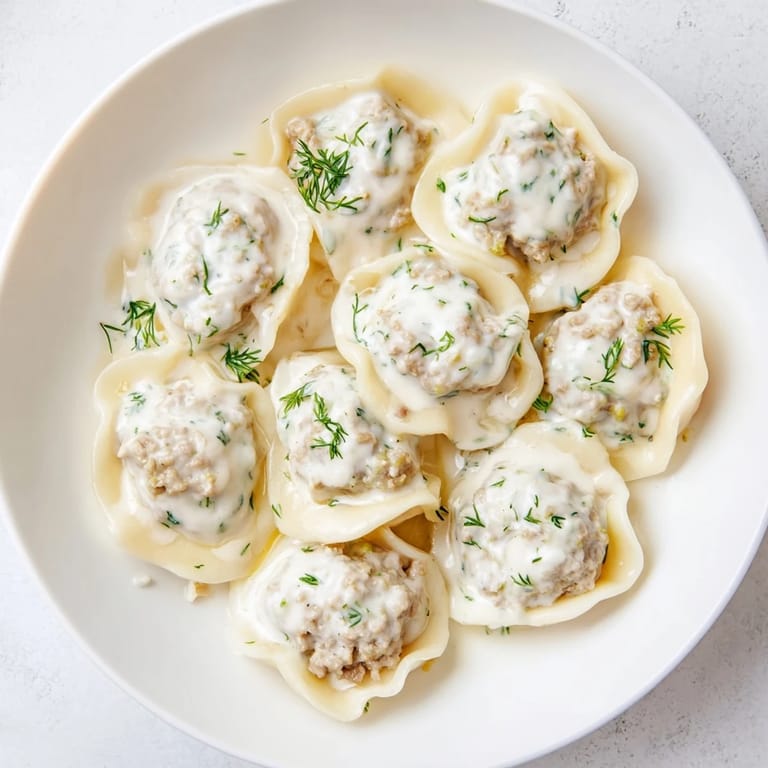
- Place 1 teaspoon of filling in the center of each dough circle, fold in half to create a half-moon shape, and pinch the edges tightly. Now bring the two corners of the half-moon together and pinch them to seal, creating that signature pelmeni shape—it should look like a tiny, plump hat. Don't worry if your first few aren't perfect; they'll cook the same whether they're beautiful or rustic.
- Cook in boiling water:
- Bring a large pot of salted water to a rolling boil and drop the pelmeni in gently, stirring once or twice so they don't stick to the bottom. They'll sink at first, then rise to the surface after 3–4 minutes; once they float, let them cook for another 2–3 minutes until you know the meat inside is cooked through. The timing is crucial—undercooked filling is unsafe, but overcooked pelmeni become mushy.
- Finish with sour cream:
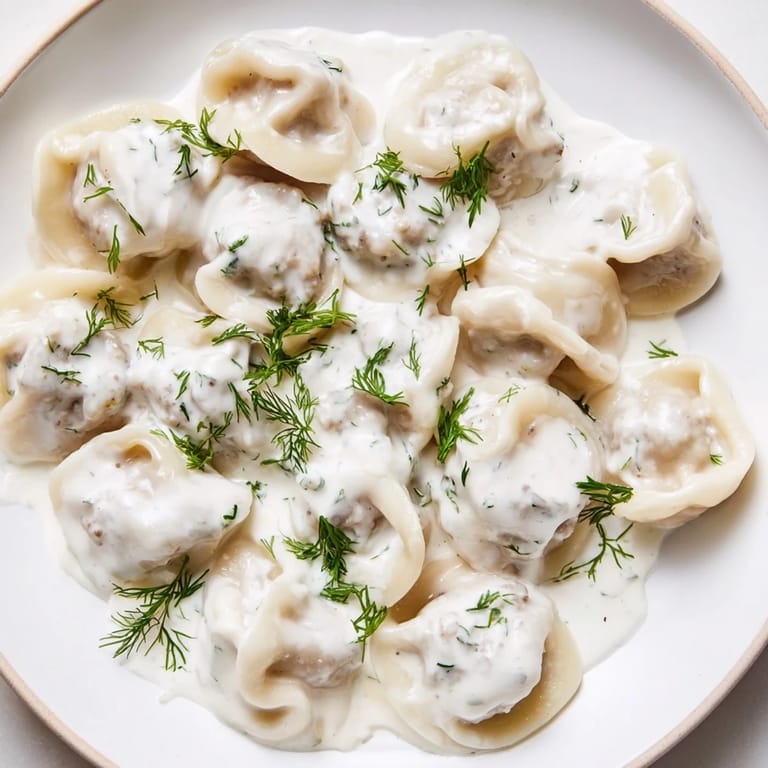
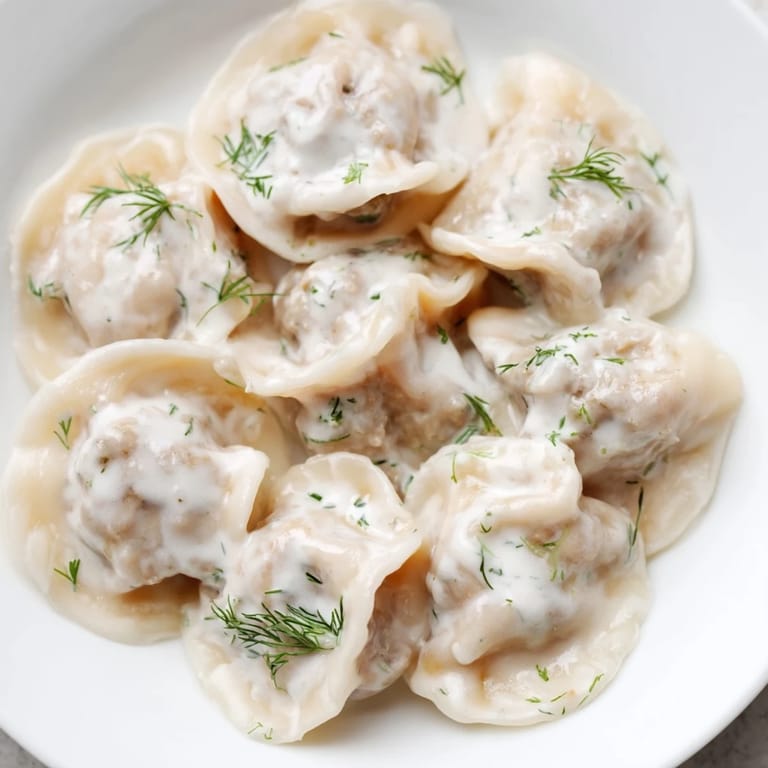
- Use a slotted spoon to transfer the pelmeni to a bowl or plate, then generously dollop with sour cream and scatter fresh dill over the top if you have it. Serve immediately while they're still steaming, so the sour cream melts slightly into the warmth.
 Save
Save There's a moment while folding pelmeni when your hands know exactly what to do without thinking—when the repetition becomes meditative rather than tedious. I realized that's when cooking stops being a chore and starts being presence, a way of saying to the people you're feeding that you spent time with your hands thinking about their pleasure. That's what pelmeni gave me.
Making Pelmeni Ahead of Time
One of the greatest gifts of pelmeni is their freezer life—a batch made on a quiet afternoon becomes a weeknight miracle. I always make double and freeze the extras, and there's something deeply satisfying about reaching into the freezer knowing dinner is essentially done. Just drop the frozen dumplings straight into boiling water and add an extra minute or two to the cooking time; they thaw and cook simultaneously, so no pre-thawing is needed.
Variations and Flavor Explorations
While traditional pelmeni are meat-filled, I've learned that a pinch of nutmeg in the filling (about 1/8 teaspoon) adds an almost imperceptible warmth that makes people pause mid-bite wondering what that subtle depth is. Some families add a tiny bit of fresh ginger instead, others fold in finely minced mushrooms to stretch the meat and add earthiness. The beauty of homemade pelmeni is that once you understand the basic technique, you can play with flavors in ways that feel personal and right for your kitchen.
Serving and Sauce Pairings
While sour cream is the classic and best choice, pelmeni are forgiving enough to pair with melted butter, a drizzle of good vinegar, or even a light broth if you want something warmer. I've found that the sour cream approach feels most complete—the cold tang against the hot dumpling, the way it pools slightly and mixes with the meat juices, creates a perfect bite every time. Beyond the sauce, consider what you serve alongside: crusty bread for soaking, a simple green salad to cut through the richness, or simply another bowl of pelmeni.
- Sour cream is best served cold so it creates a pleasant temperature contrast with the hot dumplings.
- A sprinkle of black pepper over the sour cream adds final flavor without needing anything else.
- If you're doubling the recipe, remember that pelmeni freeze beautifully, so make the batch and save half for later.
 Save
Save Making pelmeni is an act of care disguised as cooking. Every fold is a small intention, every pot of boiling water a promise to feed someone well. Whether you're honoring a family recipe or making it your own, these dumplings carry the warmth of hands and tradition into the bowl.
Recipe Questions & Answers
- → What type of meat is used in these dumplings?
A blend of ground pork and beef is seasoned and used as the filling to create a rich, savory taste.
- → How is the dough prepared for these dumplings?
The dough is made with all-purpose flour, egg, cold water, and salt, kneaded until smooth and rested before rolling out.
- → What is the best way to cook these dumplings?
They should be boiled in salted water until they float, indicating the filling is cooked through, usually 5–7 minutes.
- → How is the sour cream sauce made?
A simple combination of sour cream, fresh dill, salt, and pepper is mixed to create a creamy, flavorful topping.
- → Can these dumplings be frozen before cooking?
Yes, they can be frozen on a tray first, then transferred to a bag for up to three months without losing quality.