 Save
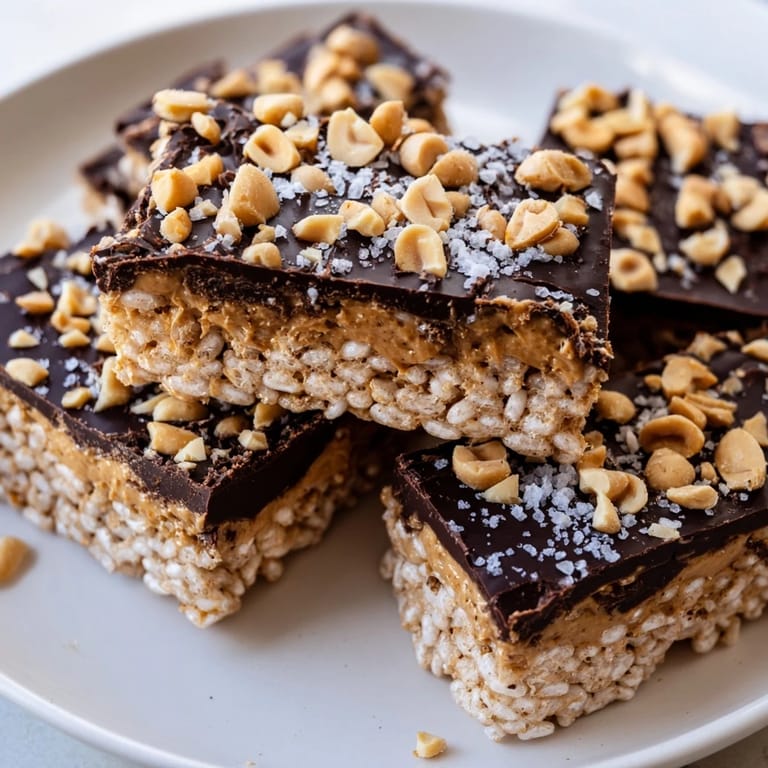
Save There's something magical about the moment chocolate hits cold peanut butter and everything just locks into place. I discovered these bars by accident one afternoon when I had leftover rice cakes staring at me from the pantry and a sudden craving for something that tasted indulgent but required zero actual effort. My roommate watched skeptically as I melted chocolate in the microwave, then couldn't stop eating them straight from the freezer.
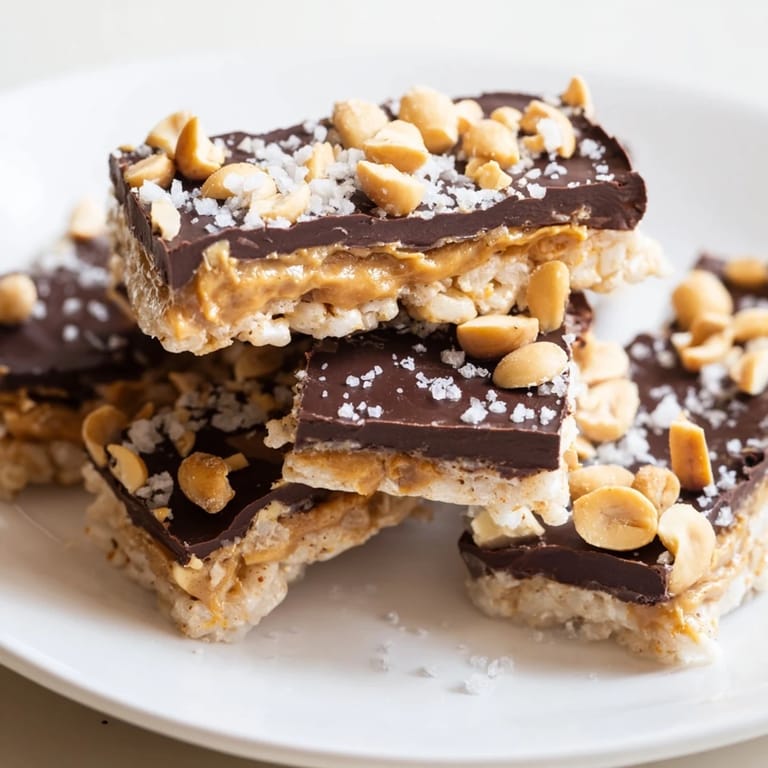
I brought these to a friend's place on a lazy Sunday and watched everyone reach for seconds without asking what was in them. That moment when someone bites into that cold chocolate shell and discovers the peanut butter beneath—that's when you know a snack has earned its place in rotation.
Ingredients
- Rice Cakes: Three large plain ones give you enough surface area to work with and break apart easily into manageable pieces.
- Creamy Peanut Butter: Six tablespoons is the right amount to coat without becoming overwhelming—use whatever style you prefer, sweetened or not.
- Chocolate: One hundred grams of semi-sweet or dark chocolate chopped fine melts more evenly than chunks.
- Coconut Oil: A tablespoon is optional but makes the chocolate smoother and easier to drizzle.
- Peanuts and Sea Salt: These garnishes add texture and a little contrast, but skip them if you want something simpler.
Tired of Takeout? 🥡
Get 10 meals you can make faster than delivery arrives. Seriously.
One email. No spam. Unsubscribe anytime.
Instructions
- Set Up Your Space:
- Line a baking sheet with parchment paper and break your rice cakes into large chunks or squares, arranging them in a single layer so you can see each one clearly.
- Spread the Peanut Butter:
- Use about a tablespoon per piece and spread it in an even layer—the thickness is important because it should be substantial enough to taste but not so thick it slides around.
- Melt the Chocolate:
- In a microwave-safe bowl, combine your chocolate and coconut oil, then melt in 20-30 second bursts, stirring between each one so nothing scorches.
- Coat Everything:
- Spoon or drizzle the warm chocolate over each peanut butter-covered piece, making sure every edge gets covered—the chocolate is what holds everything together.
- Garnish if You're Feeling It:
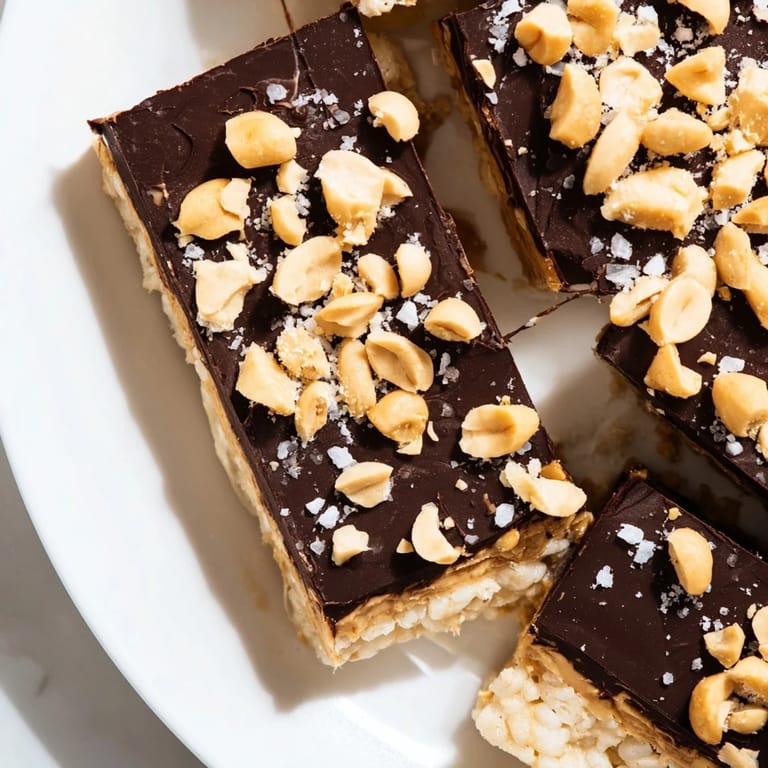
- Sprinkle chopped peanuts and sea salt over the chocolate while it's still slightly warm so they stick.
- Freeze Until Firm:
- Transfer the tray to the freezer for at least 45 minutes—the chocolate needs to harden completely or the bars will be messy to handle.
- Cut and Store:
- Once set, cut into bars or bite-sized pieces and store in an airtight container in the freezer until you're ready to eat them.
 Save
Save These bars became my go-to when I needed something that felt like a treat but wasn't going to derail my day. They're simple enough that I've made them dozens of times, yet they never feel boring because you can tweak them however you want.
Variations That Actually Work
The beauty of this recipe is how flexible it is once you understand the basic method. I've experimented with almond butter instead of peanut butter on days when I wanted something a touch lighter, and it's equally good. Dark chocolate changes the flavor profile entirely—going from sweet and indulgent to slightly bitter and sophisticated. One time I drizzled a little honey into the peanut butter before spreading it and created something almost decadent.
Why This Works as a Freezer Staple
Having these on hand is like having a secret weapon for afternoon cravings or unexpected guests. They thaw slightly at room temperature if you need them softer, but honestly, straight from the freezer is when they shine. The preparation time is so short that you could make a batch almost on impulse.
Making Them Better Each Time
The first batch I made, I didn't spread the peanut butter evenly and some bites were mostly chocolate while others were mostly rice cake. Now I know that consistency matters, and taking an extra 30 seconds per piece makes the final result so much better. Small details like not overheating the chocolate in the microwave and adding the salt while the chocolate is still slightly warm have become second nature.
- Keep the chocolate warm enough to drizzle smoothly but not so hot it melts through the peanut butter layer.
- Cut the bars while they're still frozen for cleaner edges and easier portioning.
- Let them sit at room temperature for just a minute before eating if you want them slightly less hard.
 Save
Save This is the kind of recipe that proves you don't need complicated techniques or fancy ingredients to make something genuinely crave-worthy. Every time I make these, I remember why simplicity is sometimes the real skill.
Recipe Questions & Answers
- → Can I use crunchy peanut butter instead of creamy?
Yes, crunchy peanut butter adds extra texture that complements the crispy rice cakes well.
- → What type of chocolate works best for melting?
Semi-sweet or dark chocolate melts smoothly and balances the sweetness of peanut butter.
- → Is freezing necessary for these bars?
Freezing helps the chocolate layer to firm up, making the bars easier to cut and enjoy.
- → Can I substitute other nut butters?
Almond or cashew butters are great alternatives, offering unique flavor variations.
- → How should I store leftovers?
Keep the bars in an airtight container in the freezer to maintain their texture and freshness.
- → Are these bars gluten-free?
Yes, when using certified gluten-free rice cakes, these bars fit gluten-free diets.