 Save
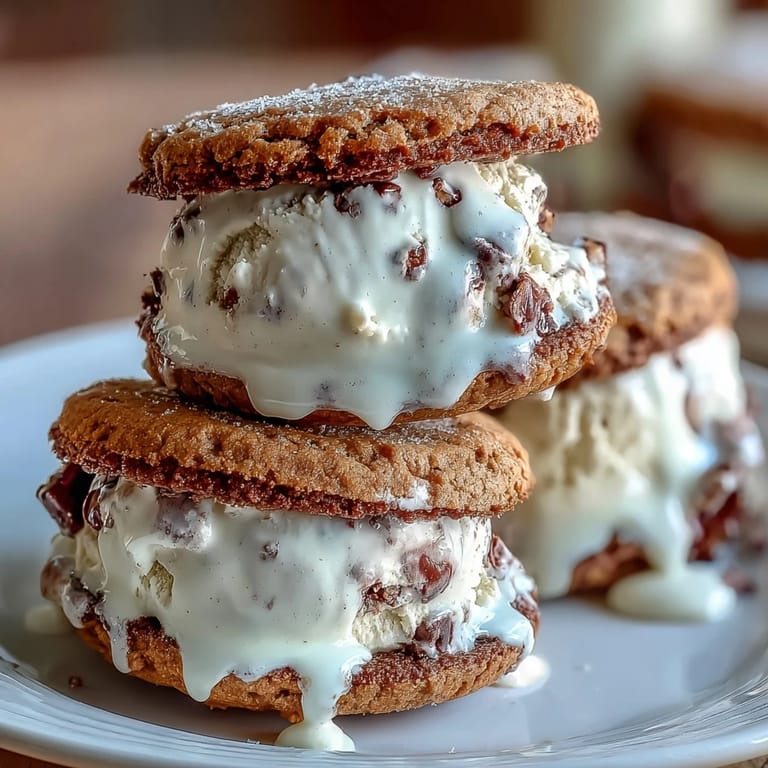
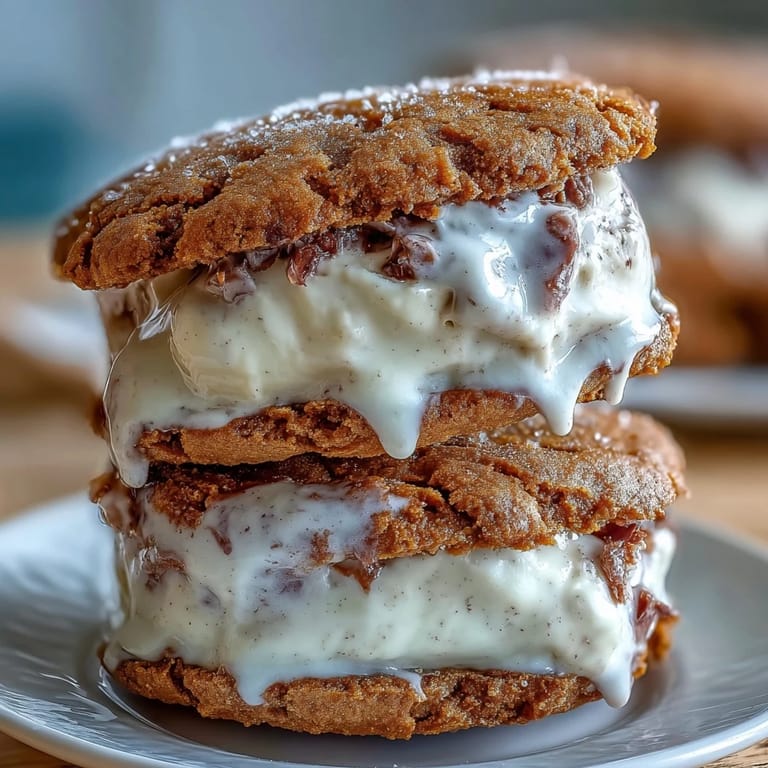
Save There's something about the hum of an ice cream maker on a summer afternoon that makes everything feel possible. I was testing dessert ideas for a friend's backyard gathering when I realized the magic wasn't just in the vanilla bean ice cream itself, but in pairing it with something warm and coffee-scented. Those first bites—the soft cookie giving way to cold cream—felt like I'd stumbled onto something genuinely new, even though it's really just two classics getting reacquainted.
I made these for a group who'd been raving about a particular coffee shop's treats, and watching their faces when they realized I'd made something even better was honestly worth every minute of the churn time. One guest asked for the recipe before she'd even finished her first sandwich, which felt like the highest possible compliment.
Ingredients
- Unsalted butter (1 cup softened): Softening it properly means your cookies will spread gently instead of staying dense, and you'll actually taste the butter's richness rather than fighting hard chunks.
- Light and granulated sugar (1 cup plus 1/2 cup): The combination gives the cookies a subtle chew and caramelized depth that hits different than using just one type.
- Large eggs (2): Room temperature eggs mix smoother and create better structure, so grab them from the counter a few minutes before you start, not straight from the fridge.
- Instant espresso powder (2 tbsp): Don't skip this or swap it carelessly; it's the soul of these cookies and regular coffee won't give you that concentrated punch.
- Vanilla extract (1 tsp): A small amount keeps things balanced so the coffee stays the main character.
- All-purpose flour (2 1/2 cups): Measure by spooning and leveling rather than scooping straight from the bag, which compacts the flour and can make your cookies dense.
- Baking soda (1 tsp): This reacts with the brown sugar's acidity and creates a subtle lift and tender crumb.
- Salt (1/2 tsp): A pinch brightens the coffee flavor and prevents everything from tasting flat.
- Heavy cream (2 cups): Whole dairy matters here; ultra-high pasteurization can affect how it churns, so check your label if your mixer seems sluggish.
- Whole milk (1 cup): This keeps the ice cream creamy without being overly heavy, and it helps the vanilla bean flavor shine through.
- Granulated sugar (3/4 cup): Dissolved into the milk base, this prevents icy crystals and creates that smooth texture you're after.
- Vanilla bean (1 split, seeds scraped): Real beans create those dark specks and deeper flavor you can't achieve with extract, but bean paste works beautifully if fresh beans aren't in your budget.
Tired of Takeout? 🥡
Get 10 meals you can make faster than delivery arrives. Seriously.
One email. No spam. Unsubscribe anytime.
Instructions
- Start your ice cream the day before or morning of:
- Combine milk, sugar, and vanilla bean seeds in a saucepan over medium heat, watching until the mixture steams and the sugar completely dissolves. This warming step is crucial because it coaxes flavor from the vanilla bean and prevents graininess in the final ice cream.
- Cool and chill the base:
- Remove from heat, discard the pod, and let it cool at room temperature for about 15 minutes before stirring in your heavy cream. Refrigerate for at least 2 hours (or overnight), which gives the flavors time to meld and cold ingredients churn more efficiently.
- Churn until it's soft serve consistency:
- Pour into your ice cream maker and follow the manufacturer's timing—usually 20 to 25 minutes. When it's ready, it'll look like thick soft serve and feel just slightly resistant to your spoon.
- Freeze into a slab:
- Spread the churned ice cream into a parchment-lined 9x13-inch pan to about 3/4-inch thickness and freeze for at least 2 hours until completely firm. This method makes cutting rounds much easier than scooping from a tub.
- Cream your butter and sugars together:
- Beat until it's genuinely fluffy and pale, which takes about 3 to 4 minutes with an electric mixer. This aeration is what keeps the cookies tender rather than dense.
- Add eggs and espresso:
- Beat in the eggs one at a time, then the espresso powder and vanilla extract, mixing until everything is well combined and the batter looks slightly mousse-like. You'll actually see the espresso powder color the dough.
- Combine your dry ingredients separately:
- Whisk flour, baking soda, and salt in another bowl to distribute the leavening evenly. Adding them all at once and mixing too much can overdevelop gluten and create tough cookies, so mix gently until just combined.
- Drop and flatten the dough:
- Scoop rounded tablespoon portions onto parchment-lined baking sheets and gently press each one into a 2.5-inch round so they bake evenly. They'll spread a little during baking, which is exactly what you want.
- Bake until the edges are set:
- At 350°F (175°C), these cookies need 10 to 12 minutes—the centers should still feel slightly soft to the touch while the edges look golden and firm. They'll continue cooking as they cool, so pulling them out slightly early is better than overbaking.
- Cool completely before assembly:
- Let the cookies rest on the baking sheet for a minute, then transfer to a wire rack and wait until they're room temperature. Assembling with warm cookies will melt your ice cream and ruin the whole operation.
- Cut ice cream rounds to match your cookies:
- Use a round cutter the same size as your cookies and press firmly through the frozen slab to create clean circles. You should get about 16 rounds from a standard slab, giving you 8 sandwiches.
- Assemble with a gentle press:
- Place one ice cream round between two cookies and press down just enough to create contact without squishing the cream out the sides. A few seconds of pressure is all you need.
- Refreeze for 30 minutes minimum:
- Return the assembled sandwiches to the freezer so the ice cream refirms and everything bonds together. This makes them actually handleable without the cookie separating from the cream.
 Save
Save These sandwiches have a way of stopping conversations mid-sentence. There's something about the combination of coffee and vanilla that feels both comforting and slightly indulgent, like you're eating something special rather than just a dessert.
Making Them Look Fancy
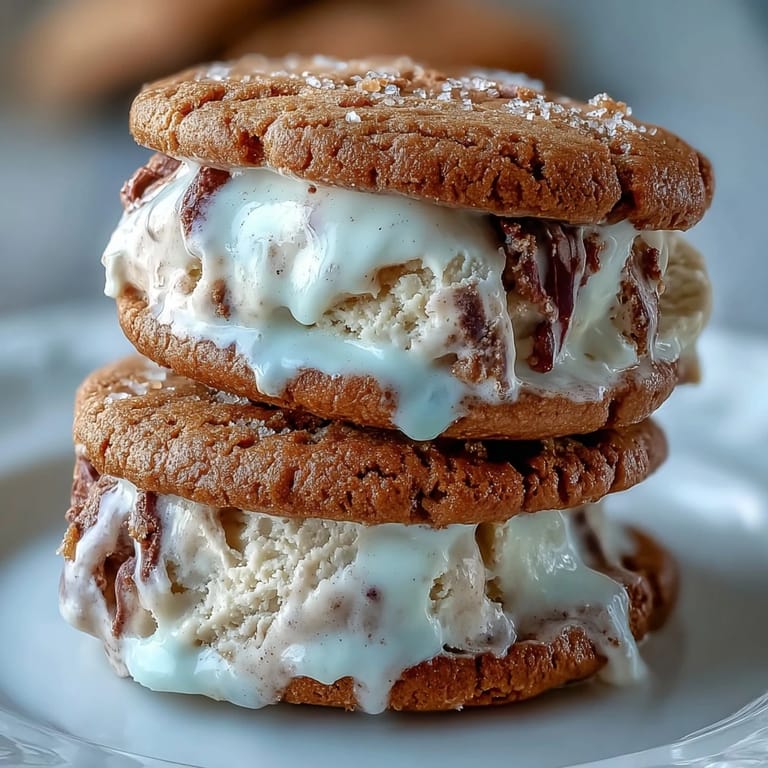
Before the final freeze, I sometimes roll the edges of the assembled sandwiches in mini chocolate chips or finely crushed coffee beans, and it transforms them from homemade to bakery-quality in about 30 seconds. The additions stick to any cream edges and add visual appeal plus an extra textural layer that guests genuinely notice.
Storage and Make-Ahead Strategy
Wrapped individually in parchment paper and stored in a freezer bag, these sandwiches last up to two weeks, which means you can make them for a weekend party on a Tuesday night without stress. I've found they're actually better after sitting in the freezer for a couple of days because the flavors have time to meld and the texture becomes even creamier.
Variations and Adaptations
This base is honestly forgiving enough to play with—I've made versions with cardamom in the ice cream, swapped the espresso powder for instant coffee if that's what I had on hand, and even tried a brown butter version of the cookies that was ridiculously good. The structure stays solid no matter what you tweak, which makes experimentation actually fun rather than risky.
- If you don't have an ice cream maker, you can freeze the base in a shallow pan and whisk it by hand every 30 minutes for 2 to 3 hours until it reaches soft serve consistency.
- Make the cookies a day ahead and store them in an airtight container so you only have to churn ice cream and assemble on the day you're serving.
- The espresso powder won't fully dissolve in the cold dough at first, but beating it in the wet ingredients means it's distributed evenly even if visible specks remain.
 Save
Save These ice cream sandwiches are the kind of dessert that makes people ask for your recipe and then actually use it, which feels like a small victory. Once you nail the method, you'll find yourself making them for every warm-weather occasion, and honestly, you'll never look at a regular ice cream sandwich the same way again.
Recipe Questions & Answers
- → How do I achieve soft coffee-flavored cookies?
Use room temperature butter and cream the sugars and butter until light and fluffy. Bake just until edges set to keep centers soft.
- → Can I substitute espresso powder?
Yes, strong instant coffee works well as a substitute and imparts a similar rich coffee flavor.
- → How long should the ice cream mixture chill before churning?
Chill the mixture for at least 2 hours in the refrigerator to enhance flavor and improve texture before churning.
- → What’s the best way to shape the ice cream rounds?
Freeze the churned ice cream in a shallow pan, then use a round cutter matching cookie size to cut out firm rounds.
- → How do I store the finished sandwiches?
Wrap each sandwich in parchment paper and store them individually in the freezer for up to 2 weeks.